When photographing underwater there are a number of important factors that can determine just how well your photos will look. Some of these, such as the weather, are completely out of your control but if you have a little time on your hands and can do the shoot in the optimum conditions your photos will look a lot better.
1. Know your smartphone and its settings – Unlike above the water, you can’t use the touch screen underwater. To be able to take photos you’ll need to use the volume keys to take the photo. Try this out above the water first to get comfortable using them: there’s nothing worse than missing a great shot because you couldn’t press the shutter release in time.

2. Know the subject you’re shooting and its behavior – If you’re shooting a subject that is fast moving, then use the Burst mode. This will take multiple photos in a very short frame of time and can be the difference between getting the fish in the middle of your frame or just getting its tail in the corner as it swims away. Very rarely will a marine animal sit still and pose for you, so you need to be aware of what your camera is capable of and use the setting that best suits the conditions.
3. Time of day – When shooting underwater I like to shoot between 10am and 2pm. This is when the sun is at its highest point in the sky and provides the best visibility underwater. Ideally you would like it bright and sunny with no cloud cover. If there are clouds it’s not the end of the world, but keep an eye on where the sun is in relation to the clouds and wait until the sun comes out for the shot. Also, try to keep the sun either right above you or behind you: If you shoot into the sun quite often this can give the water a green tinge instead of beautiful blues.
4. Get as close as you think you need to be, and then get even closer – The main reason for getting close is you’ll get better colours and sharpness in the image. The more water between you and the subject, the more colour you will lose and the less sharp the image will be. Smartphones don’t have filters that can be attached to the lens as with SLRs, so you need to get as close as you can to eliminate the loss of colour.
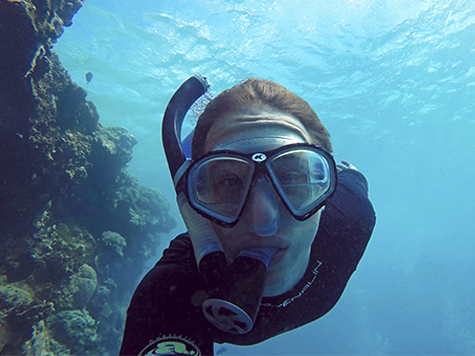
5. Try to get at eye level with the subject or underneath it – This makes the viewer feel like they’re right there in that moment. Quite often when people are starting out snorkeling on the surface they tend to just shoot straight down. Don’t get me wrong, there’s some amazing images taken from straight above a subject, but more often than not the place to be for the best image is right down there with them at their level – just be careful to go no deeper than your waterproof camera casing is rated for.
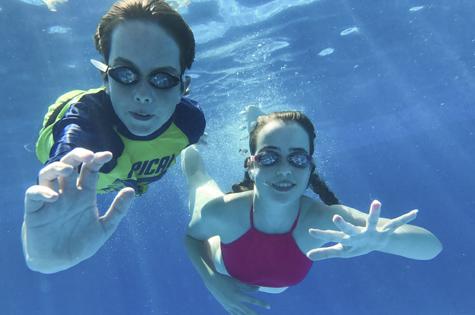
6. Practice, practice, practice – As with all things, the more you get out there and practice something, the better you’ll get. The best place to start off is a swimming pool. The water clarity is good and the water is calmer. Once you’re comfortable here, look at progressing to the ocean. You will learn what style you like shooting the most and these things will become second nature to you.

We carry our phones with us all the time, but often the places which are the most fun are also the most unforgiving: Pool parties, the beach, or singing in the rain spring to mind.
Protect your phone with Tech21's waterproof case for the iPhone 7 and 7 Plus! The new Evo Aqua and Evo Aqua 360 Edition cases are designed for active, on-the-go individuals. They provide superior waterproof and foolproof protection to keep your phone clean and dry, while offering the same advanced impact protection, ingenious design and unbeatable user-friendliness for which tech21 is known.
The Evo Aqua is waterproof up to 2 metres for one hour, while the Evo Aqua 360 Edition offers one hour of waterproof protection up to 3 metres. Both products provide 2 metres of drop protection.


__small.png)


